You will need to create a new profile setting item for each profile that needs access to validate address, email and/or phone fields.
You will also need to ensure any profiles used for passive validation are configured too, if you choose to use this feature.
Go to App Launcher and in the search box type EDQ Profile Settings, and select it.
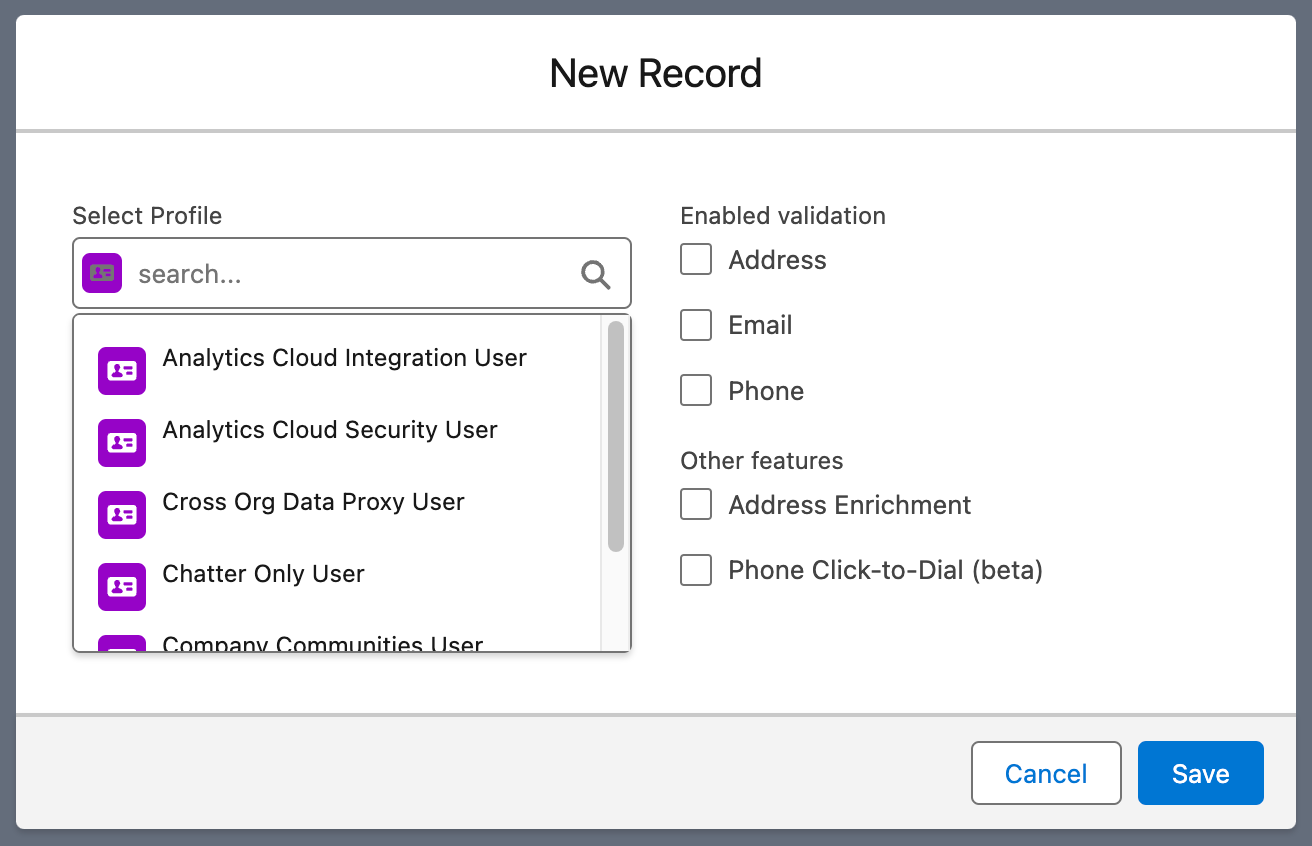
Click New.
Select a profile in the look up field.
Select Address, Phone and/or Email under Enabled validation.
Select Address Enrichment under Other features, if you intend to use our Enrichment API to retrieve additional data.
Click Save.
If the profile has not been enabled for validation, then the user will still be able to save the value, but the message below will be displayed. For validation to occur, you will need to enable the required validation (Address, Email and/or Phone) on that profile.

If you're not licensed to use a particular validation type, you will likely have chosen to disable it within the EDQ Profile Setting. If you also want to hide the validation status displayed against each field so that the fields display as default Salesforce fields, you will also need to disable the Always show EDQ statuses checkbox on the global settings page. Note that this also applies to hiding the country code dropdown on phone fields.