If you are using the advanced address verification or email and phone validation features, blocks are displayed on the Checkout or Thank you page. It is possible to override all of the blocks' prompts, messages, and labels using the Labels page found in the app nav:
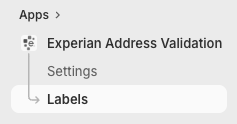
The Labels page is grouped into two areas with logical sections within them:
Address Validation
Email/Phone Validation
Find the appropriate section and the label within it that you would like to customize.
The default label is displayed as a placeholder, which can be overridden.
Once all label changes have been made, click the Save button.
Simply remove the label that has been used to override the default.
The default label is displayed as a placeholder again.
Once all required labels have been restored, click the Save button.